Customizing store fixtures directly with a manufacturer works best when the buyer treats the project as a production brief, not a collection of inspiration images. The manufacturer needs to understand the merchandise, store conditions, brand details, quantities, and rollout date before design decisions become expensive to change.
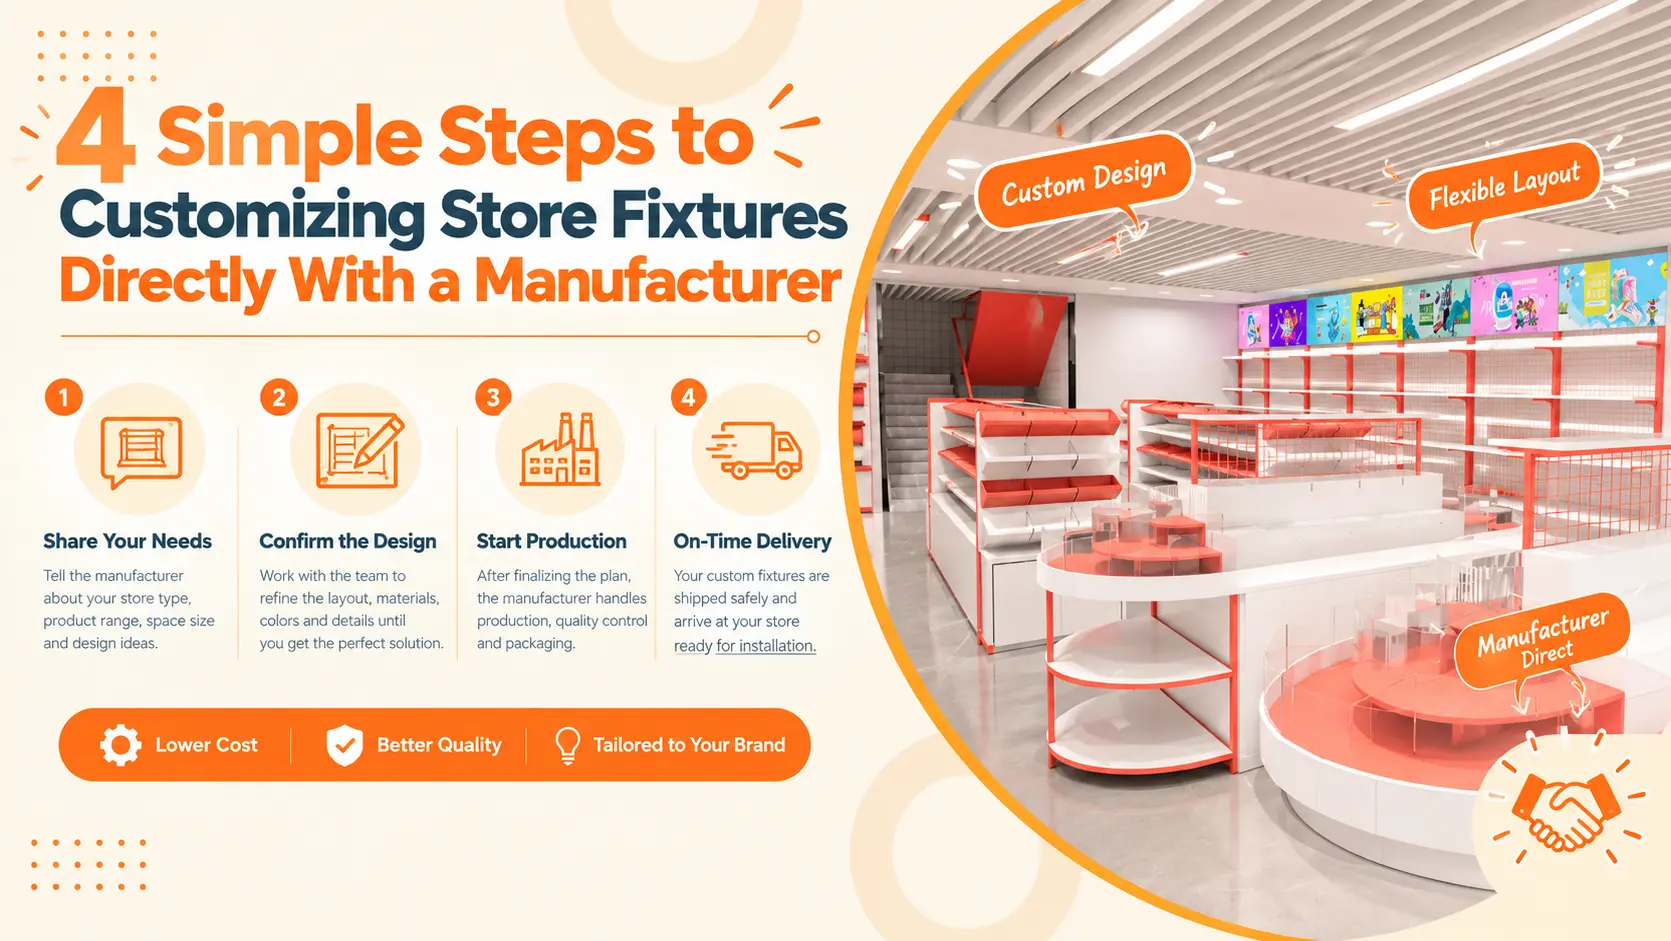
This guide explains the four practical steps: prepare the brief, turn it into a buildable design, approve the production package, and manage manufacturing through delivery. It is written for supermarket chains, grocery stores, specialty retailers, brand managers, and fit-out contractors ordering custom fixtures from a factory.
Key Takeaways
- Start with the merchandise, store conditions, brand requirements, quantities, and rollout date. A mood board is only a starting point
- Use the manufacturer during design so load, assembly, materials, packing, and installation are resolved before release
- Separate fixed requirements from preferences, then assign one owner to each approval decision
- Choose samples by the risk they must test: finish, fit, load, assembly, lighting, packaging, or installation
- Compare quotes by total project scope, including engineering, tooling, packing, freight, and changes. Unit price tells only part of the story
- Treat the first rollout as a controlled pilot that improves the specification for every later store

Why should you customize store fixtures directly with a manufacturer?
Direct manufacturer collaboration connects the visual idea to engineering, material selection, fabrication, packing, and installation. At DAHO, we have 20+ years in display shelf manufacturing and more than 10,000 completed projects (DAHO). That experience lets buyers test practical questions before a concept is frozen.
A designer may create a strong visual direction. A manufacturer adds questions that affect the finished fixture: Can the shelf carry the stated load? Can the frame be packed efficiently? Will the finish repeat across 200 units? Can an installer assemble it with the tools available at the store?
Direct collaboration is especially useful when a project includes unusual dimensions, integrated lighting, branded panels, mixed materials, heavy merchandise, or several store layouts. It also helps when a retailer needs custom elements beside standard gondola bays or wall shelving.
| Buying route | Main strength | Risk to control |
| Stock fixture | Fast selection and known components | May not fit the store, product, or brand system |
| Independent design then factory bidding | More design choice before production | Details can be lost between designer and factory |
| Direct manufacturer collaboration | Design, engineering, pricing, and production stay connected | Buyer must provide clear inputs and approve decisions on time |
The route you choose should match the project. Direct work does not remove approvals or lead-time planning. It makes those decisions visible sooner.
Buyer insight: The best time to ask whether a fixture is practical is before the rendering looks finished. A shop drawing can still improve a concept; a finished production batch cannot.
Step 1: What should you include in a custom fixture brief?
A manufacturer can price and engineer a custom fixture only when the brief explains what it must hold, where it will go, how it will be used, and how many versions are required. Our product range covers 10 major fixture lines and more than 40 subcategories, so precise inputs help us route a project to the right construction method (DAHO products, 2026).
Start with the merchandise. List product dimensions, weights, SKU count, replenishment method, security needs, shopper interaction, and the visibility required from the aisle. A cosmetics display has different access and lighting needs than a beverage gondola. A bulk grocery display needs a different load and replenishment plan again.
Then document the store. Include the fixture footprint, ceiling height, wall construction, floor condition, aisle clearance, electrical access, accessibility requirements, delivery route, and installation rules. A photograph helps, but it rarely shows scale or hidden attachment conditions.
What files should you send the manufacturer?
Send the most useful information in one organized package:
- Store plans, elevations, photos, and measured site dimensions
- Product dimensions, weights, packaging, and a planogram if available
- Brand standards, logo files, color references, and finish samples
- Sketches, CAD files, PDFs, or examples of fixtures you want to improve
- Quantity by fixture type, store count, store variations, and target in-store date
- Budget range, packaging expectations, shipping destinations, and installation responsibilities
Separate firm requirements from preferences. “The bay must fit this wall” is a requirement. “A warm wood appearance would be preferred” leaves room for the manufacturer to compare veneer, laminate, or painted board.
Assign decision owners before the first concept review. Someone should approve brand appearance, someone should approve store operations, and someone should release the purchase. Without that ownership, a project can collect comments without reaching a decision.
What should a fixture brief say about cost?
Give the manufacturer a budget range or a target cost per fixture when possible. A budget does not lock the final price; it tells the design team which trade-offs deserve attention first. Ask the quote to separate engineering, tooling, samples, materials, finishing, packaging, freight, installation, and taxes. Also ask what is excluded.
For a multi-store program, request pricing by configuration and quantity break. One custom hero display may have a different economics from 200 repeatable bays. Showing those differences early helps the buyer decide which elements deserve custom fabrication and which can use standard modules.
Pro Tip: Put every unresolved item in a table with an owner and due date. An open question that is visible can be managed; one buried in an email can delay a production release.
Step 2: How do you turn the brief into a buildable design?
The design stage succeeds when the concept becomes a documented, manufacturable system. Our 30+ professional designers work across the design and production discussion, while our ISO-9000-certified quality system has been in place since 2010. The buyer still needs to ask clear questions and approve trade-offs.
Begin with a discovery review. Confirm the fixture’s purpose, dimensions, merchandise, store constraints, budget assumptions, rollout quantity, and target date. Ask the manufacturer to list assumptions rather than silently filling gaps.
The first concepts should show merchandising logic alongside the front elevation. Review product visibility, replenishment access, customer reach, signage, lighting, service panels, and the connection to adjacent bays or millwork. A fixture can look good in a rendering and still make restocking awkward.
Next, move into engineering. The production drawing should settle dimensions, joints, attachment points, hardware, tolerances, lighting routes, assembly order, and service access. It should also show what ships assembled and what ships knocked down.
Which materials and finishes should you decide early?
Choose materials by function, appearance, weight, durability, and repeatability. Common options include powder-coated steel, stainless steel, aluminum, plywood, MDF, melamine-faced board, acrylic, tempered glass, solid surface, and mixed-material assemblies.
| Material family | Typical use | Buyer questions |
| Powder-coated steel | Frames, shelves, gondolas, brackets | What gauge, load, coating, and corrosion exposure apply? |
| Wood-based panels | Cabinets, counters, branded surfaces | Which core, edge treatment, veneer, or laminate is approved? |
| Acrylic or glass | Product visibility, showcases, illuminated displays | What thickness, support, safety, cleaning, and replacement plan is needed? |
| Mixed materials | Branded fixtures combining structure and presentation | How do parts join, ship, and repeat across locations? |
Avoid vague finish language. “Black” can mean powder coat, paint, laminate, or anodized metal. “Wood look” can describe several grains and sheens. Use a physical sample, recognized color reference, or a named finish system when appearance matters.
Value engineering belongs here. The manufacturer may suggest a different profile, panel core, fastener, packing method, or modular connection. Review the effect on appearance, load, labor, freight volume, and future replacement before accepting it. A cheaper panel is a poor bargain if assembly becomes difficult or replacement parts become expensive.
![]() Step 3: What must you approve before production starts?
Production should begin only after the current drawing, finish references, quantities, and approval criteria are unambiguous. A manufacturer’s past project volume can inform its process, but each new program still depends on the buyer approving the correct revision and configuration. Experience cannot correct an outdated file.
Review the shop drawing as an operating document. Check dimensions, orientation, shelf spacing, component relationships, hardware, clearances, finish callouts, lighting, assembly, packing, and installation notes. Compare it with the real product, rather than relying on the design image.
Decide what kind of sample the project needs. A finish sample can confirm color and sheen. A first article can confirm dimensions and assembly. A full prototype can test fit, access, lighting, load behavior, packaging, and installation. These are different tests with different time and cost implications.
What should a final approval checklist include?
Before signing the production release, confirm:
- Overall dimensions and site fit
- Product capacity, shelf spacing, and access
- Materials, colors, textures, edges, and finishes
- Hardware, fasteners, lighting, and electrical assumptions
- Safety, accessibility, stability, and maintenance access
- Quantity by configuration and store destination
- Assembly method, packing state, protective materials, and labels
- Current drawing number, revision date, open-item status, and named approvers
Use one source of truth. Mark superseded drawings as obsolete and keep the approved file easy to identify. When a stakeholder requests a post-approval change, document its effect on cost, schedule, affected parts, sample status, and production already completed.
Factory-floor lesson: A “final” file name is not a control system. Revision numbers, written approvals, and a single release folder prevent more confusion than a long email thread.
Do not approve from a rendering alone. Renderings explain appearance. Shop drawings and samples confirm whether the fixture can be made, packed, installed, and serviced as planned.
![]() Step 4: How do you manage manufacturing, inspection, and delivery?
Customization is not finished when the factory starts cutting parts. It is finished when the correct fixture arrives, is identified, and can be installed at the correct store. Our 40,000+ m² shelving factory supports different production and packing activities. The batch plan, inspection points, packaging method, and destination sequence still need to be agreed for each order.
Confirm the production plan after release. It should show material readiness, batch sequence, quantities, store configurations, inspection dates, packing, ship date, and expected delivery. If a project includes several store formats, identify each configuration in the item list.
Agree on inspection criteria before fabrication. Check dimensions, finish appearance, component fit, assembly, lighting, labels, and damage tolerance against the approved documents. If an issue appears, record the affected part or quantity, the requirement it misses, and the decision: repair, replace, accept with a documented deviation, or hold shipment.
Packaging is part of the fixture specification. Confirm whether units ship assembled or knocked down, how surfaces are protected, where hardware and instructions are placed, and how cartons are labeled. For a rollout, labels should match store numbers, fixture identifiers, quantities, and the packing list.
Which milestones should appear on the project schedule?
| Milestone | Buyer action | Delay to prevent |
| Brief and kickoff | Provide requirements, quantities, and site information | Clarifications after design starts |
| Concept and engineering | Consolidate comments and approve the direction | Conflicting feedback |
| Sample or first article | Review against pre-agreed criteria | New acceptance rules after delivery |
| Production release | Confirm revision, quantities, and open items | Fabrication from an old drawing |
| Inspection and packing | Confirm labels, destinations, and exceptions | Wrong configuration or missing hardware |
| Delivery and installation | Prepare receiving team and report damage quickly | Store access or installation surprises |
Ask for progress photos and a first-article sign-off when the project warrants them. A short review at this point can protect the rest of the batch. It is much easier to correct one approved sample than a container of mismatched fixtures.
![]() How can you compare manufacturers before requesting a quote?
Compare a manufacturer on total project capability, rather than unit price alone. A factory with design, engineering, fabrication, finishing, inspection, and export packing under connected management can answer more project questions before release. Ask each supplier for comparable projects, material capability, approval ownership, capacity, inspection, and export-packing details. At DAHO, our 20+ years, 30+ designers, and ISO-9000 certification since 2010 are part of that record.
Ask each candidate for evidence in six areas:
- Relevant retail projects with comparable store count or fixture complexity
- In-house design and engineering, including shop-drawing responsibility
- Material and process capability for steel, wood, glass, acrylic, or mixed builds
- Capacity, sourcing plan, quality checks, and repeat-order support
- Packaging, warehousing, freight coordination, and installation support
- A quote that separates tooling, samples, engineering, packing, freight, and changes
For a practical comparison framework, use this article alongside questions to ask a retail shelving manufacturer before ordering. If the project includes China sourcing, review the requirements for sourcing custom supermarket shelving from China.
What mistakes make custom fixture projects slower or more expensive?
The most common avoidable delays start before production: incomplete dimensions, unclear quantities, fragmented feedback, uncontrolled revisions, and late delivery planning. A manufacturer can only schedule the work that has a clear input and an identified decision owner. This is why the brief and approval system matter as much as the design.
Watch for these warning signs:
- Inspiration images are supplied without product dimensions or site measurements
- A quote is requested before loads, quantities, configurations, and destinations are known
- Brand, operations, and procurement teams send separate, conflicting markups
- A rendering is treated as approval even though the shop drawing is incomplete
- Materials or finishes change after release without an impact review
- Packaging, receiving windows, and installation responsibilities are discussed last
If the budget is tight, compare custom focal fixtures with standard components. A branded end cap or feature display can be custom while repeatable aisle shelving remains modular. The decision should be based on fit, appearance, load, quantity, and delivery. A hybrid specification often gives the buyer more control than choosing “all custom” or “all standard” at the start.
For layout-sensitive projects, connect the fixture brief to supermarket layout strategies and the relevant gondola shelving system guide. Those decisions affect aisle clearance, shopper flow, replenishment, and the number of fixture variants the factory must produce.
What should happen after the first rollout?
The first production run should create a repeatable playbook for future stores. Record installation lessons, damage patterns, replenishment feedback, associate usability, shopper interaction, and finish performance. Then update the master drawing, item list, packing instructions, and installation guide. This closes the loop between the factory specification and the retail floor.
Separate approved standard components from location-specific changes. That distinction makes reorders easier and prevents a store-specific workaround from becoming the default specification. Keep a replacement and warranty process with part numbers, photographs, and the original revision reference.
The first store is also a data point. A short post-installation review can reveal that a shelf is hard to replenish, a carton is too large for the receiving door, or a finish shows fingerprints under store lighting. Fixing those details before the next batch can improve the program more than another round of concept sketches.
Frequently Asked Questions
What information do I need before contacting a store fixture manufacturer?
Prepare store plans, measured dimensions, product sizes and weights, fixture purpose, quantities, store count, brand references, preferred materials, budget range, and target date. A simple item list helps the manufacturer understand variations. Mark each requirement as fixed, preferred, or still open.
Do custom store fixtures always require a prototype?
No. A finish sample may be enough when appearance is the main risk. A first article or full prototype is more useful when the project has unusual joints, lighting, load requirements, fragile materials, complex installation, or many repeated units. Define what the sample must prove before ordering it.
Can I combine custom fixtures with standard retail shelving?
Yes. A hybrid program can use custom branded elements where shoppers focus and standard or modular units where repeatability matters. Confirm compatible dimensions, finishes, load requirements, attachment details, quantities, and ownership of each component before production release.
How do I avoid unexpected costs in a custom fixture project?
Ask for quote exclusions and assumptions in writing. Confirm tooling, samples, engineering, packaging, freight, installation, taxes, and change-order rules. A complete brief, one approved drawing set, clear sample criteria, and early delivery planning reduce costs caused by rework or incorrect shipments.
Conclusion: Make the manufacturer part of the design decision
Customizing store fixtures directly with a manufacturer becomes manageable when every stage has a clear input, owner, and approval. Start with a production-ready brief. Turn it into a buildable design with the factory team. Approve the drawing, sample, quantities, packaging, and revision. Then manage inspection and delivery as part of the fixture specification.
Our customization service supports the path from store requirements and 3D layout work to shop drawings and production planning. Send your store plan, product list, quantities, preferred materials, and rollout date to Get a Quote.

Ivy is a shelving specialist at DAHO, a supermarket shelving manufacturer in China. She shares practical knowledge on retail shelving design, metal and wood fabrication, and store display systems. She helps global retailers and wholesalers understand shelving structures and choose the right factory solutions.