Opening another location can expose problems the first store never had. A gondola that fits one plan may block a cooler door in the next. A display that staff can refill in a large shop may be awkward in a compact one. Good convenience store display ideas start with the store, the products, and the people who have to keep the shelves filled.
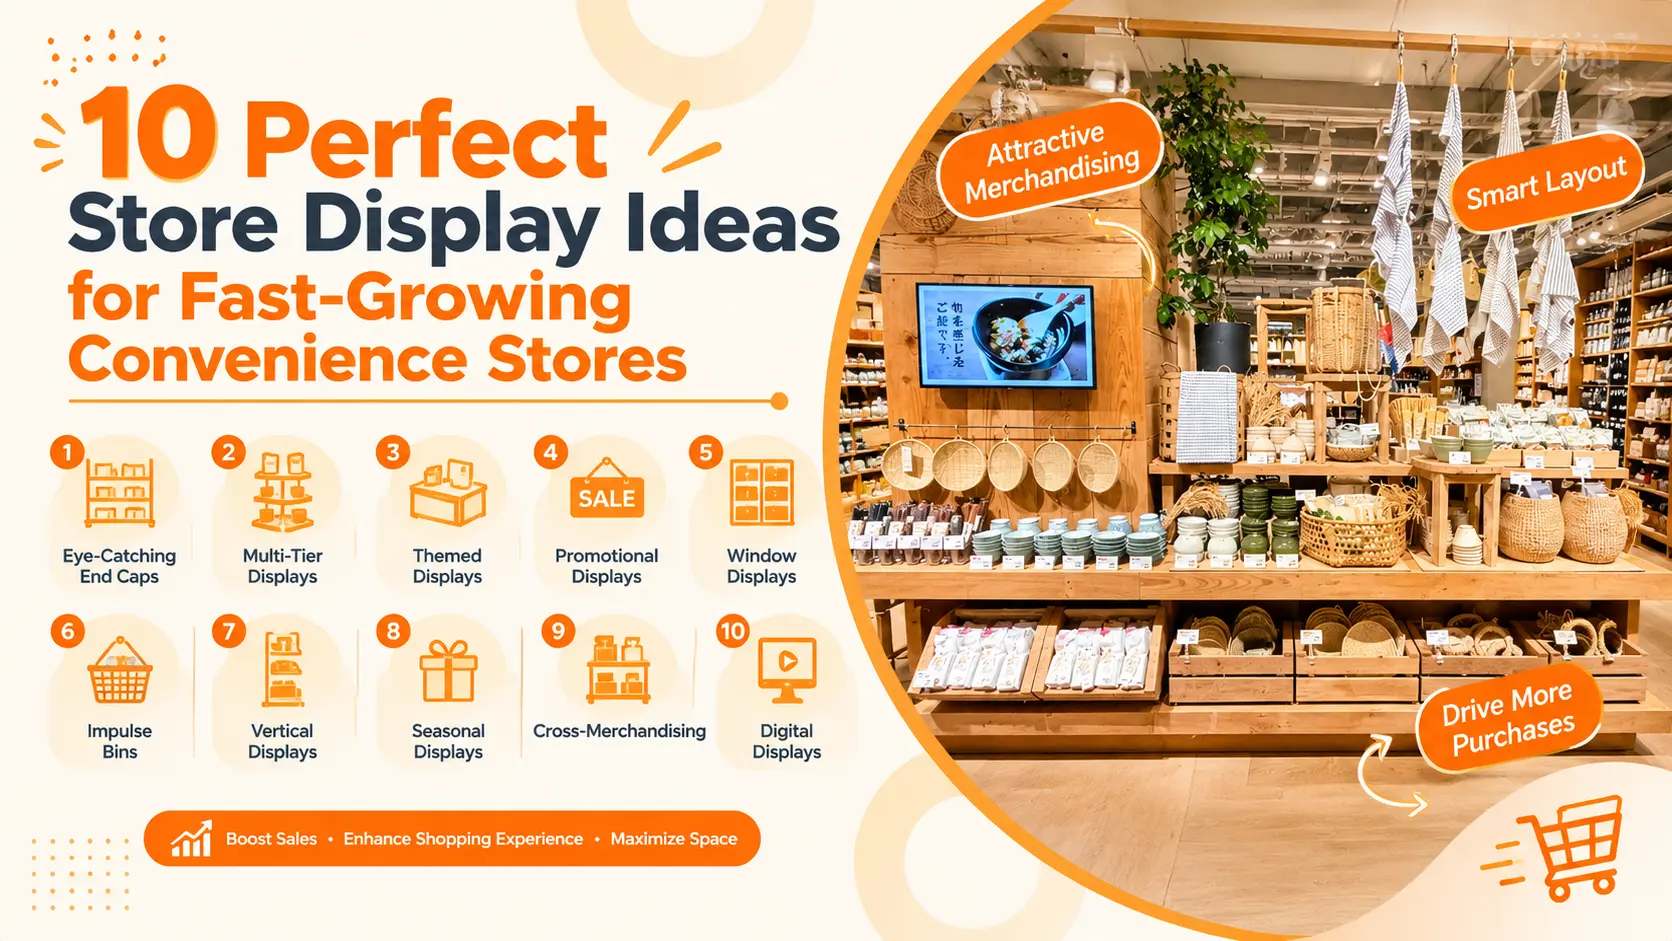
Here are ten formats for entry promotions, core aisles, checkout, chilled food, and small accessories. You probably won’t use all ten in one shop. Pick the ones that fit the assortment and floor plan, then try them in a representative location before ordering for the rest of the chain.
Wichtige Erkenntnisse
- Start with the products and store plan. The same fixture won’t suit every location.
- Record dimensions, loads, and accessories so the next store can use the same specification.
- Try a new display in one store. Check refill, cleaning, access, and sales before expanding.
- Ask the fixture and equipment makers about load and service requirements; check local rules for each site.
What should growing convenience stores standardize first?

Before ordering fixtures for a growing chain, get the basics in one place: floor plans, product categories, package sizes, refill frequency, and site constraints. A fixture schedule can keep the core format consistent and show where a smaller or differently shaped store needs an exception.
Walk each store before drawing the plan. Mark doors, columns, coolers, power points, the checkout queue, and the delivery route. Then place the categories. A compact urban shop may have room for wall displays but little central shelving; a larger neighborhood store can often fit both.
Set a base fixture family with approved dimensions, finishes, accessories, and load ratings. Keep a few approved alternatives for stores that need more hanging space or a different checkout. The point is to make planning repeatable, not to squeeze every shop into one floor plan.
Standardize the decisions, not just the look. Write down which parts stay the same, which can change, and what needs approval. Store teams can then adapt the layout without starting a new fixture specification each time.
Try the new setup in a store that represents the rest of the chain. Note what takes longer to install or refill, where dirt collects, what gets damaged, and whether the fixture gets in anyone’s way. A pilot can catch operating problems; it does not prove a sales lift. For the wider floor plan, see our convenience store layout Planungsseite.
1. How can an entry display introduce a clear offer?
Give the entry display one job: show a timely offer without getting in the way. A compact seasonal feature is enough. Put the price where people can see it, and decide who will refill it before the promotion starts.
Umbrellas in a rainy season or snacks for a local event make sense here. A mixed bin of unrelated leftovers does not. Keep reserve stock close for staff, but clear of the doorway and customer path.
Mark the door swing, accessible route, egress, and delivery path on the plan before placing a unit. Even a low table can pinch the entrance. Tall stacks can also hide the checkout from staff.
For a chain, specify the allowed footprint and when not to use the display. Some shops simply won’t have a suitable entry zone. Let those locations skip it instead of squeezing in a substitute.
Display check: Can a customer identify the offer and price without stopping in the doorway?
2. Why use modular gondolas for core grocery and snack categories?
Modular gondolas give packaged grocery and snacks a predictable home. Adjustable shelves handle different package heights, and a standard set of labels and dividers makes resets easier to follow. Check the rated load for the exact shelf and bay before stocking them.
Measure the packs and cases first. Then decide how many facings you need and where reserve stock will go. Don’t default to the deepest shelf. Small packs pushed to the back are hard to see and make the bay look half empty.
Set shelf positions for the main package groups and show them on the planogram. Put the fast movers where shoppers and staff can reach them. Keep shelf labels consistent across stores; a smaller shop can use fewer bays without changing the labeling system.
Assortment matters as much as floor area. A fuel-linked shop may devote more room to drinks and snacks. A neighborhood store may need a wider run for household basics. Our Leitfaden für Gondelregalsysteme covers the main components to specify.
Adjustable does not mean unlimited. Get the maker’s load rating for the actual configuration, including the uprights, connectors, base, and anchoring.
3. How can end caps support seasonal and high-interest offers?
An end cap puts a promotion at the end of an aisle, where shoppers can spot it as they pass. Before filling it, decide which products belong there, what the price message says, who will refill it, and when the promotion ends. A visible position by itself does not guarantee more sales.
Boxed goods fit shelves. Hanging packs need compatible hooks; loose items may need a basket. Keep the offer narrow enough to read at a glance. If shoppers have to dig through unrelated products, the display is doing too much.
Put the reset date on the campaign brief. After the promotion, staff need to know whether to restock the regular category or remove the unit. Take down the old sign the same day; a stale offer raises questions about the price.
Check the base, load, aisle clearance, and staff sightlines, even for a short promotion. The end cap shelving options page shows fixture types buyers can compare.
To see whether the promotion paid off, compare units, revenue, margin, and out-of-stock time with a normal period. Note price changes and other campaigns too. Otherwise, it’s easy to credit the fixture for a result it didn’t cause.
4. Which cooler-side displays help shoppers find add-ons?
Near a cooler, keep any add-on display small enough that the doors still open and staff can reach the equipment. A narrow unit may fit beside a drink or meal section; a large floor display can block both access and service.
Pair products shoppers might use together, such as a snack near drinks or utensils near ready-to-eat food. Follow the retailer’s food rules. Anything that needs chilling or heating belongs in equipment approved for that job.
Before installing anything, check the cooler maker’s instructions for vents, door clearance, power, drainage, cleaning, and service. Don’t attach accessories to the case without approval from the equipment maker and site team. A display that blocks a vent can turn a merchandising tweak into a maintenance call.
Show the service area on the plan and drawing. Then try the layout during a normal shift. Can a shopper open the cooler while another person passes? Can staff refill the display without parking a carton in the aisle?
5. How can checkout displays add useful convenience items?
At checkout, small add-ons are easy to browse while customers wait. But the counter still has to work. Leave room for the payment terminal, bags, staff, and the queue before adding a rack.
Mints, batteries, and travel-size toiletries are common candidates. Use the store’s sales records to decide what earns the space. Don’t turn the counter into a home for slow stock; unrelated items clutter the display and confuse price checks.
Pick a counter unit, small shelf, or peg fixture to suit the packs and the store’s security needs. Set a facing limit. Staff should be able to refill it quickly without reaching behind equipment or covering a transaction screen.
Look at the queue from both sides of the counter. If the display narrows the route or gets between the cashier and customer, move it or remove it. A smaller rack is better than a checkout that no longer works.
6. How should small products be displayed on pegboard or mesh panels?
Pegboard and mesh panels hold a lot of small hanging products without taking much floor space. The hooks and baskets must fit the panel and the merchandise. Improvised hooks can slip or make packs difficult to remove, so choose compatible parts together.
Group items by use. Leave enough room between hooks for customers to take one pack without dragging the next one off. Keep price strips with the right product when staff change the layout.
Travel accessories, phone cables, and small household goods can suit these panels. Follow the store’s loss-prevention plan for higher-value items. Put heavier products lower, and don’t make shoppers pull against the panel to remove a pack.
Confirm panel and hook ratings, base stability, edge finish, and anchoring with the manufacturer and site team. DAHO’s individuelle Ladeneinrichtungsgestaltung service can review a floor plan and product list when the standard panel does not fit.
7. What display works for grab-and-go food and meal missions?
For grab-and-go food, shoppers need to see what the product is, what it costs, and any freshness information. The fixture depends on the food: ambient goods can sit on ordinary shelves, while chilled and hot products need the right equipment and handling routine.
Use dividers to keep meal groups in place. Leave room for date labels, rotation, cleaning, and waste. Staff should be able to check products without unloading the whole shelf.
Plan around the cooler or heated case’s power, ventilation, drainage, and service needs. Check the equipment manual and local rules for the products sold. Requirements differ by market, so this article does not set a temperature for every store.
Give staff a short daily check for product condition, dates, prices, and cleaning. If the layout hides labels or leaves corners no one can reach, change the shelf arrangement before rollout.
8. How can vertical space display small, high-turn products?
Wall displays free up the center aisle and give small, fast-moving products a place along the perimeter. Keep categories easy to scan and prices visible. Staff also need to reach the shelves without stretching or climbing on whatever is nearby.
Adjustable shelves and hooks can handle different package sizes. Put heavier goods lower. Don’t store reserve cartons overhead unless the fixture and work procedure allow it; staff shouldn’t need to stand on a chair to refill a bay.
Check what the wall is made of and how the fixture will be anchored. A product photo won’t tell you whether the unit suits that wall. Keep doors, equipment panels, sightlines, and cleaning access clear.
Keep signs and prices consistent, but don’t fill every gap. A little open space helps separate categories and gives staff room to adjust facings. Packing shelves to the ceiling adds stock, but makes the display harder to shop and clean.
9. How can bins and small floor displays stay easy to shop?
Bins suit durable promotional products that customers can pick up and put back. Choose a depth they can reach into. If the bin is too deep, the stock disappears and the assortment gets messy.
Keep one product family in the bin and put the price where it can be seen. Don’t mix clearance items just to empty a carton. Set a fill line so products stay visible and the bin is easy to tidy.
If staff need to move the unit, specify suitable locking casters and mark where it belongs. Make sure it won’t drift into a doorway, queue, or exit route. Temporary displays still need to hold their planned load safely.
Put a removal date and cleaning task on the campaign sheet. When the promotion ends, staff need to know where the unit goes and what happens to leftover stock. Otherwise, the temporary display tends to stay until somebody needs the floor space.
10. How can digital labels or QR codes add product information?
QR codes can carry details that won’t fit on a shelf ticket. They are only useful if the link still works and the shopper can see the product and price without scanning anything.
Use a code for instructions or a loyalty offer. Keep the price and product name on the shelf. Assign someone to check the link and remove old campaign details when the offer ends.
Try scanning the code from where a shopper would stand. If products cover it or the aisle is too busy to stop, move it. Check the store’s network and keep the key information available to people who would rather not scan.
For digital shelf labels, decide who updates prices and who checks them against the till. A second price source creates confusion when the systems disagree.
How do you choose displays that can scale across multiple locations?
If you want to repeat a display across stores, give it a clear job and an approved drawing. Write down how staff refill it and when a site can use another module. That is more useful than asking every location to copy a photo exactly.
Compare footprint, capacity, reset effort, cleaning, and the work it adds for staff. In a pilot, write down installation time, missing parts, stock gaps, damage, cleaning problems, and staff comments. Track sales separately, and note other changes that could affect the result.
When the pilot is approved, put the dimensions, material, finish, shelves or hooks, rated loads, accessories, and packaging in the shop drawings. Give every revision a number. Buyers and installers need to work from the same drawing.
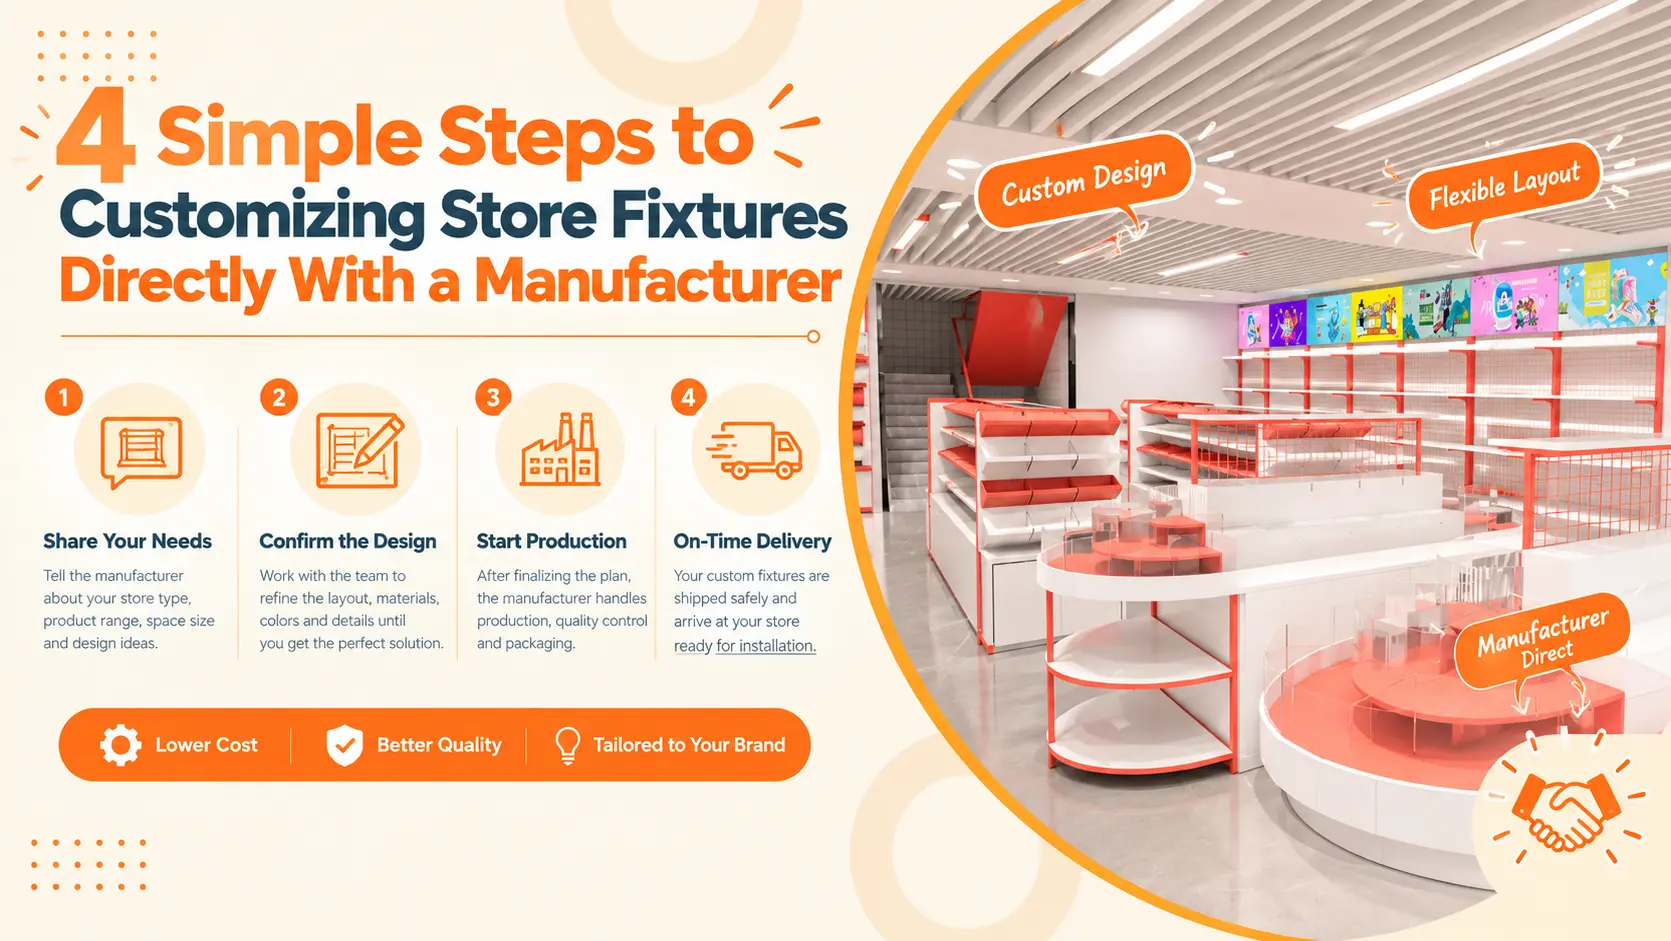
For a factory quote, send the floor plan, store count, product and package sizes, weights, quantities, reference images, destination port, and opening date. DAHO can review the project through custom fixture shop drawings and discuss how to source custom store fixtures from China.
For a fair comparison, use the same pilot log in every test store. Record setup and refill time, out-of-stock periods, damage, cleaning issues, and customer-flow problems. Those notes show whether the layout is practical; sales data can tell a separate story.
Häufig gestellte Fragen
What are the best displays for a convenience store?
There isn’t one display that suits every store. Gondolas handle core packaged goods; end caps give a promotion its own spot; counter units and wall panels work for selected small items. Match the fixture to the package, refill routine, available space, and approved load.
How do you display products in a small convenience store?
Start by protecting the route through the store. Use compact units, visible prices, and clear category labels. Measure doors, coolers, queues, and staff paths before moving a fixture; a few centimetres can matter in a tight shop.
What products sell well near a convenience-store checkout?
Mints, batteries, and travel-size toiletries are common trial items. Check the store’s own sales before choosing an assortment. Keep labels visible and leave room for payment, bags, staff, and the queue.
How can a convenience-store chain keep displays consistent across locations?
Give every location the same fixture schedule and current drawings, with clear rules for exceptions. Test the format in one representative shop first. Fix installation and refill problems, then issue the revised drawing to buyers, installers, and store teams.
How do I choose custom shelving for a convenience store?
Send the floor plan, store count, product and package dimensions, weights, facings, refill needs, destination, and site requirements. A manufacturer can use them to prepare the layout and fixture drawings. Confirm loads and installation details against the approved documents.
Fazit
The best display is the one customers can shop and staff can keep stocked. These ten ideas are options, not a chain-wide checklist. Choose the formats that fit each store’s products and floor plan.
Before a chain-wide rollout, document the fixtures and try them in one store. Track the setup, refills, cleaning, damage, and customer flow. Review sales separately so a tidy display doesn’t get credit for results it didn’t produce.
DAHO is a China-based retail fixture manufacturer with 20+ years in display shelf manufacturing, a 40,000+ m² production facility, and a 30+ designer team. Its team supports store projects with layout design, custom fixture drawings, production, and export packing.
When you are ready to plan a repeatable fixture package, send DAHO your floor plan, product list, store count, destination, and opening date.

Ivy ist Regalspezialistin bei DAHO, einem chinesischen Hersteller von Supermarktregalen. Sie vermittelt praktisches Wissen über die Konstruktion von Einzelhandelsregalen, die Verarbeitung von Metall und Holz sowie über Ladenpräsentationssysteme. Sie unterstützt Einzelhändler und Großhändler weltweit dabei, Regalsysteme zu verstehen und die passenden Lösungen vom Hersteller auszuwählen.